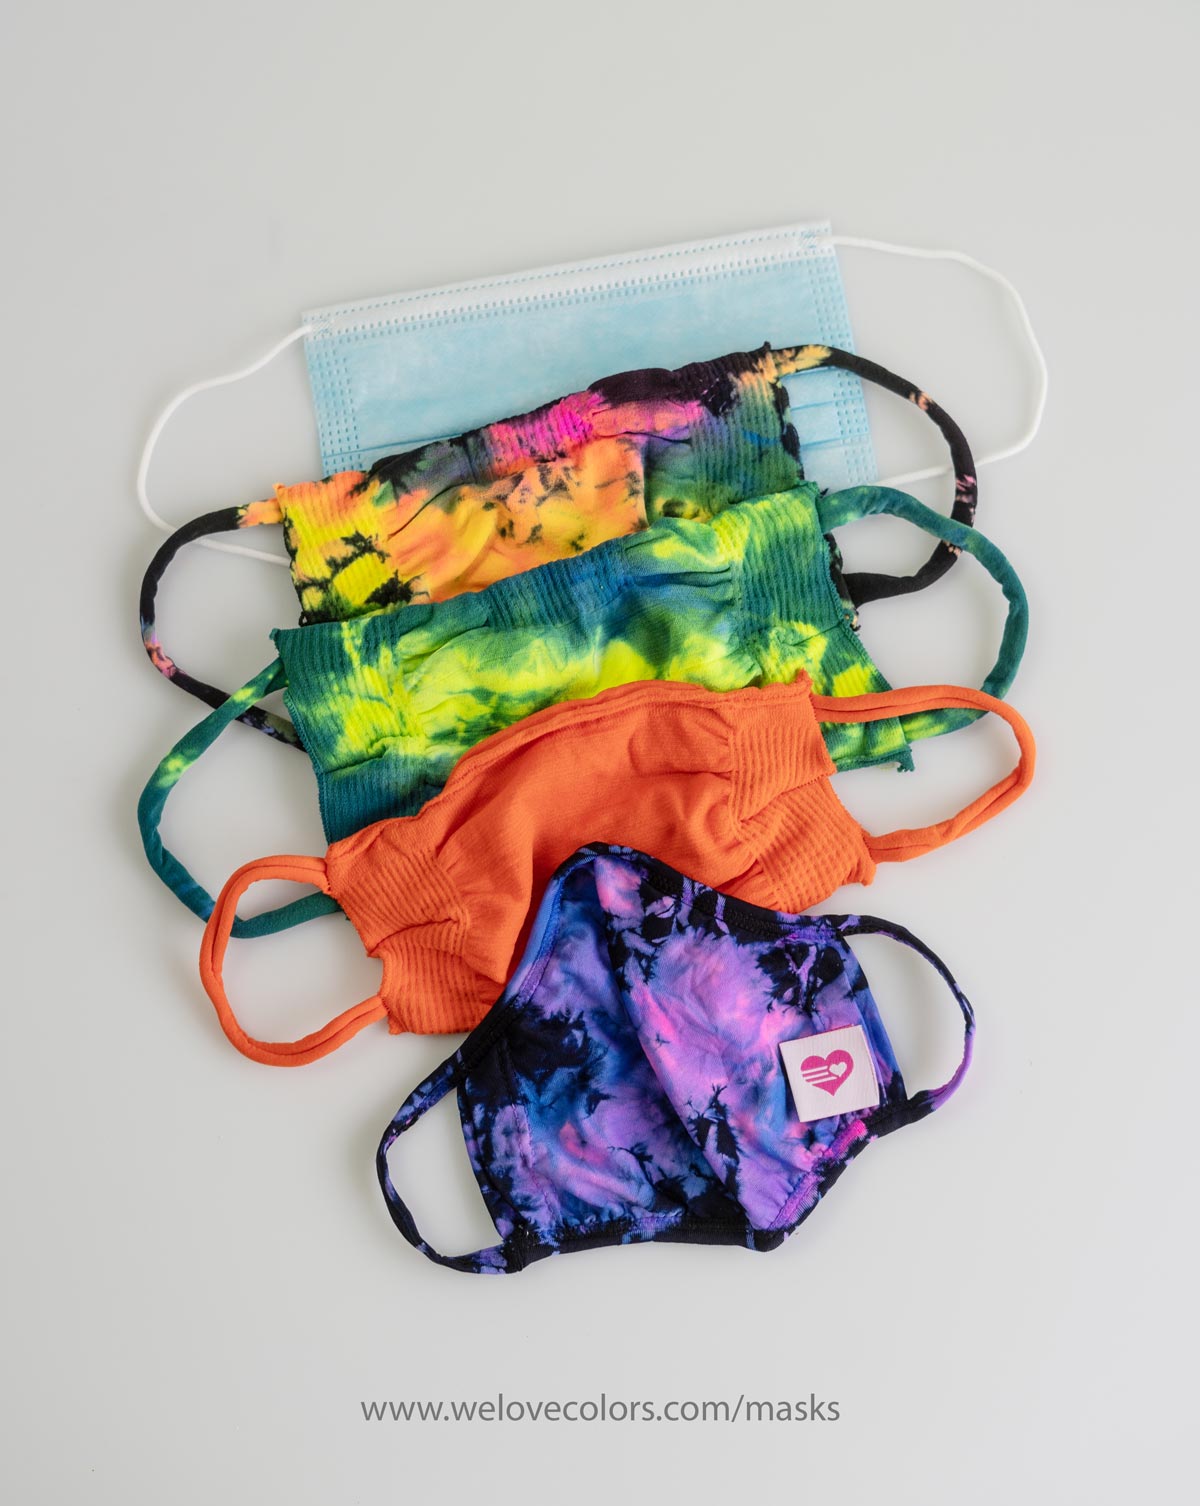
We’re walking you through a step by step DIY tutorial on how to make a face mask at home. Whether you’re making these for yourself or selling them, we’re guiding you on each step. So, let’s go, and let’s learn how to make a face mask!
Materials Needed:
- Non woven fabric
- Decorative tights for top layer
- Tights for the ear elastic bands
- Choice of thread
- Optional: Wire for nose bridge
Patterns Used:
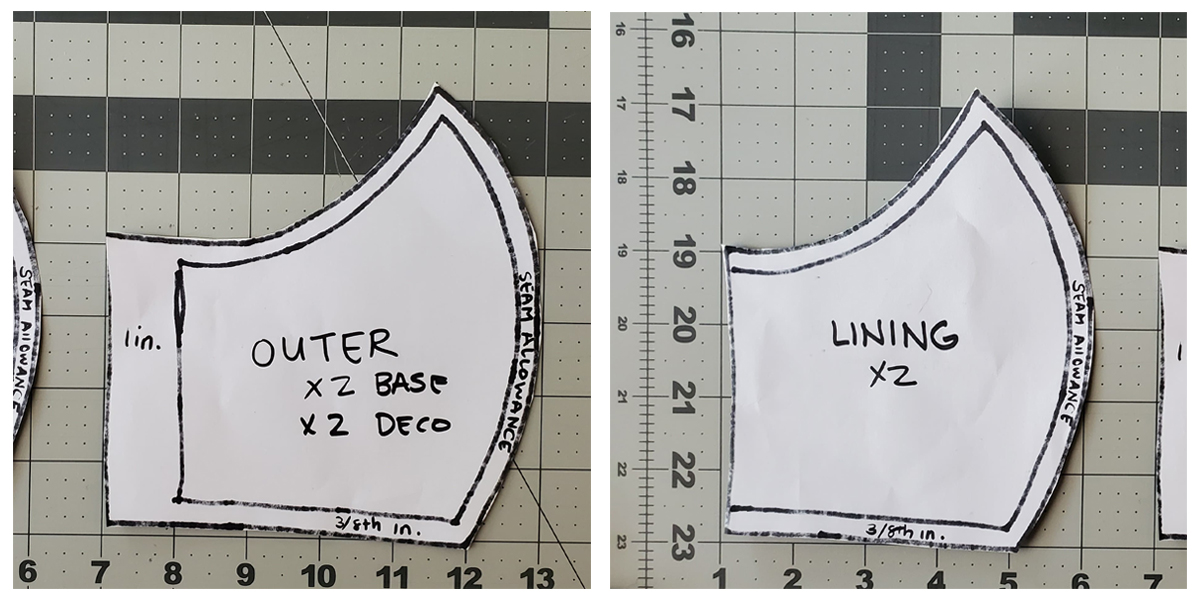
Cut 2 of these from front base fabric and decorative tights fabric, and cut two of the lining fabric.
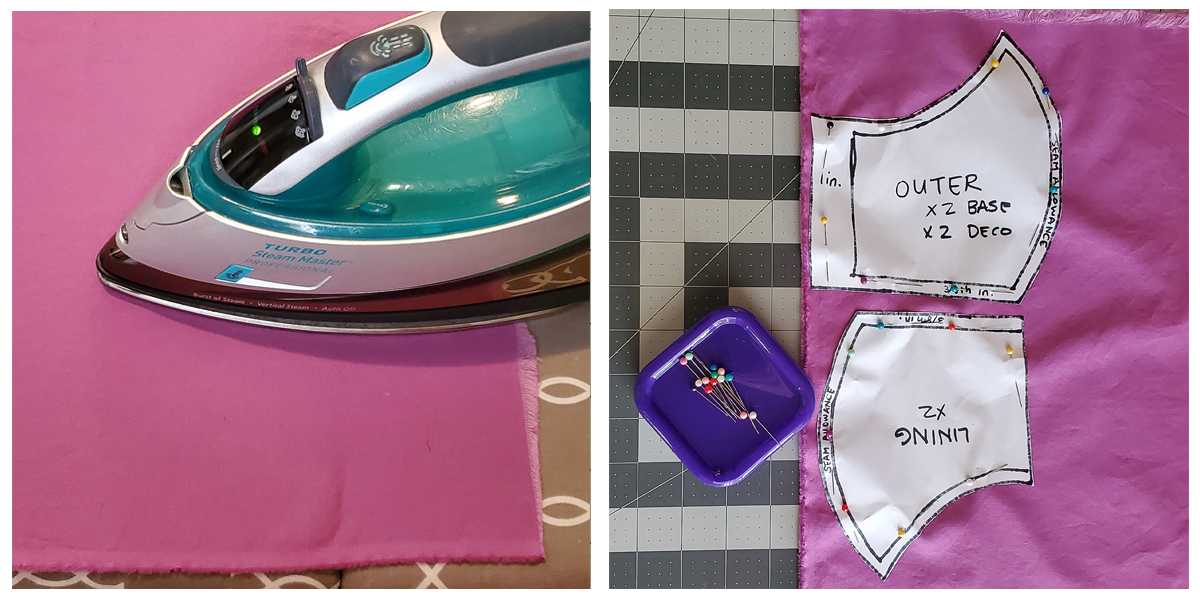
Iron your base fabric to make sure your pattern will lay straight. Lay your pattern on your fabric (folded in half) and completely cut it out
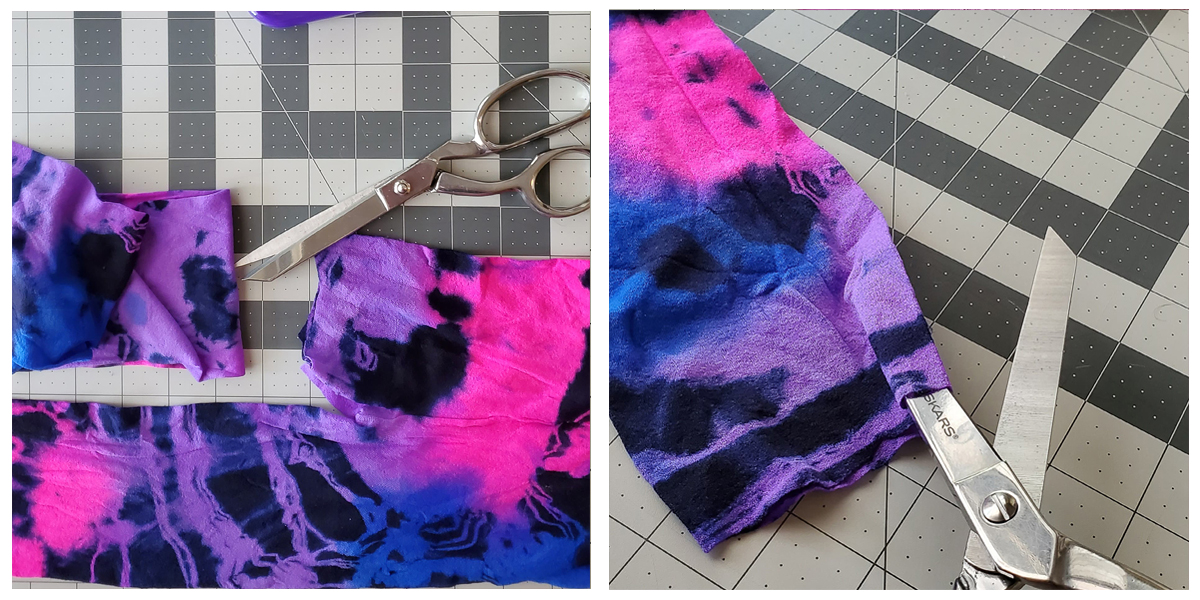
Cut a leg off your decorative tights, and cut the piece open so it can lay flat.
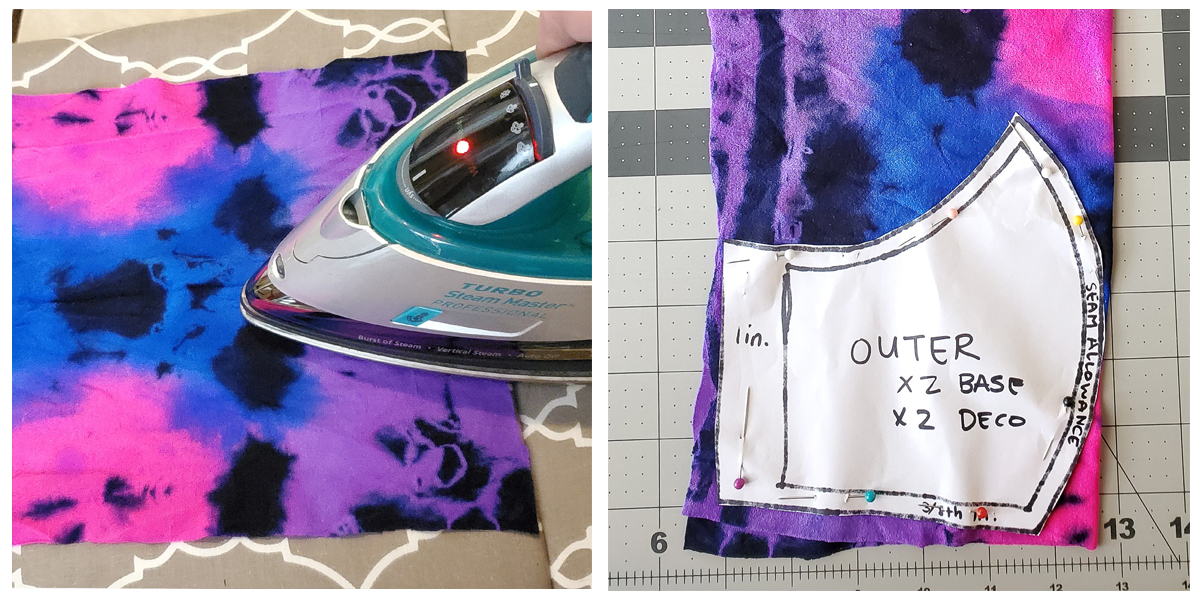
On a low heat setting, iron your tight’s fabric flat. Fold your fabric in half so you can fit your pattern on top. Cut your 2 pieces out.
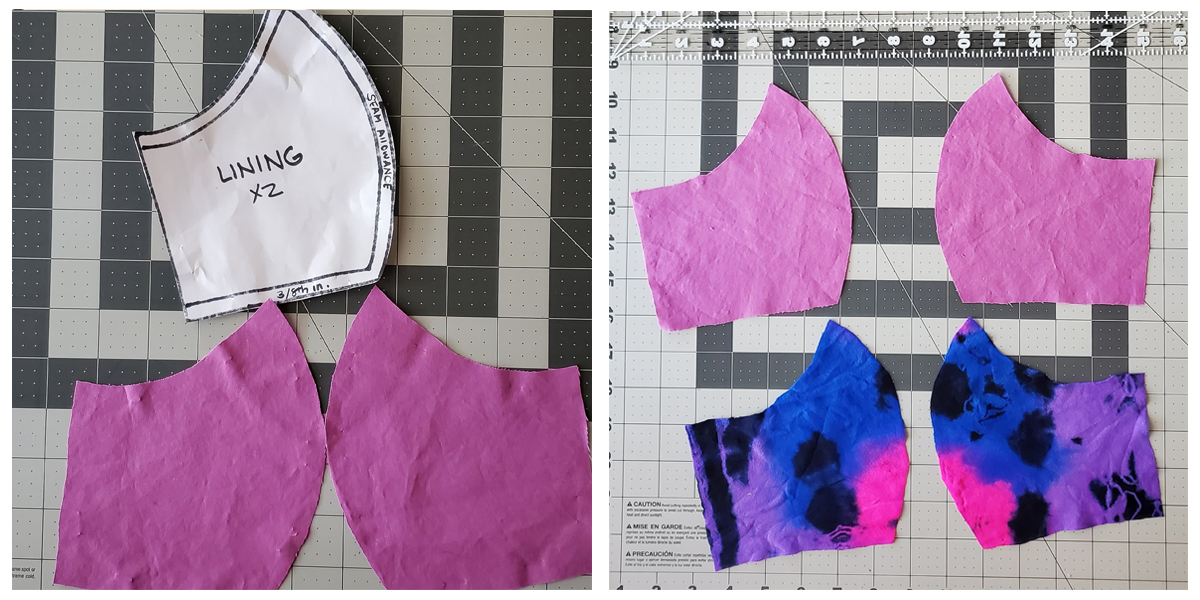
At this point, you should have two lining pieces, two base and two top pieces.
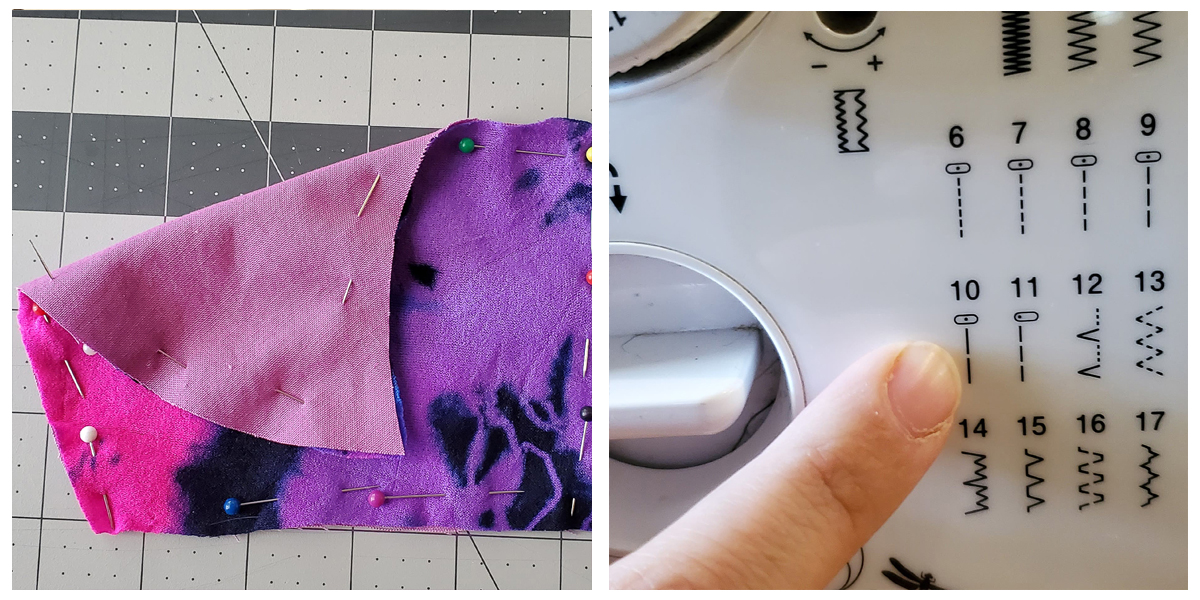
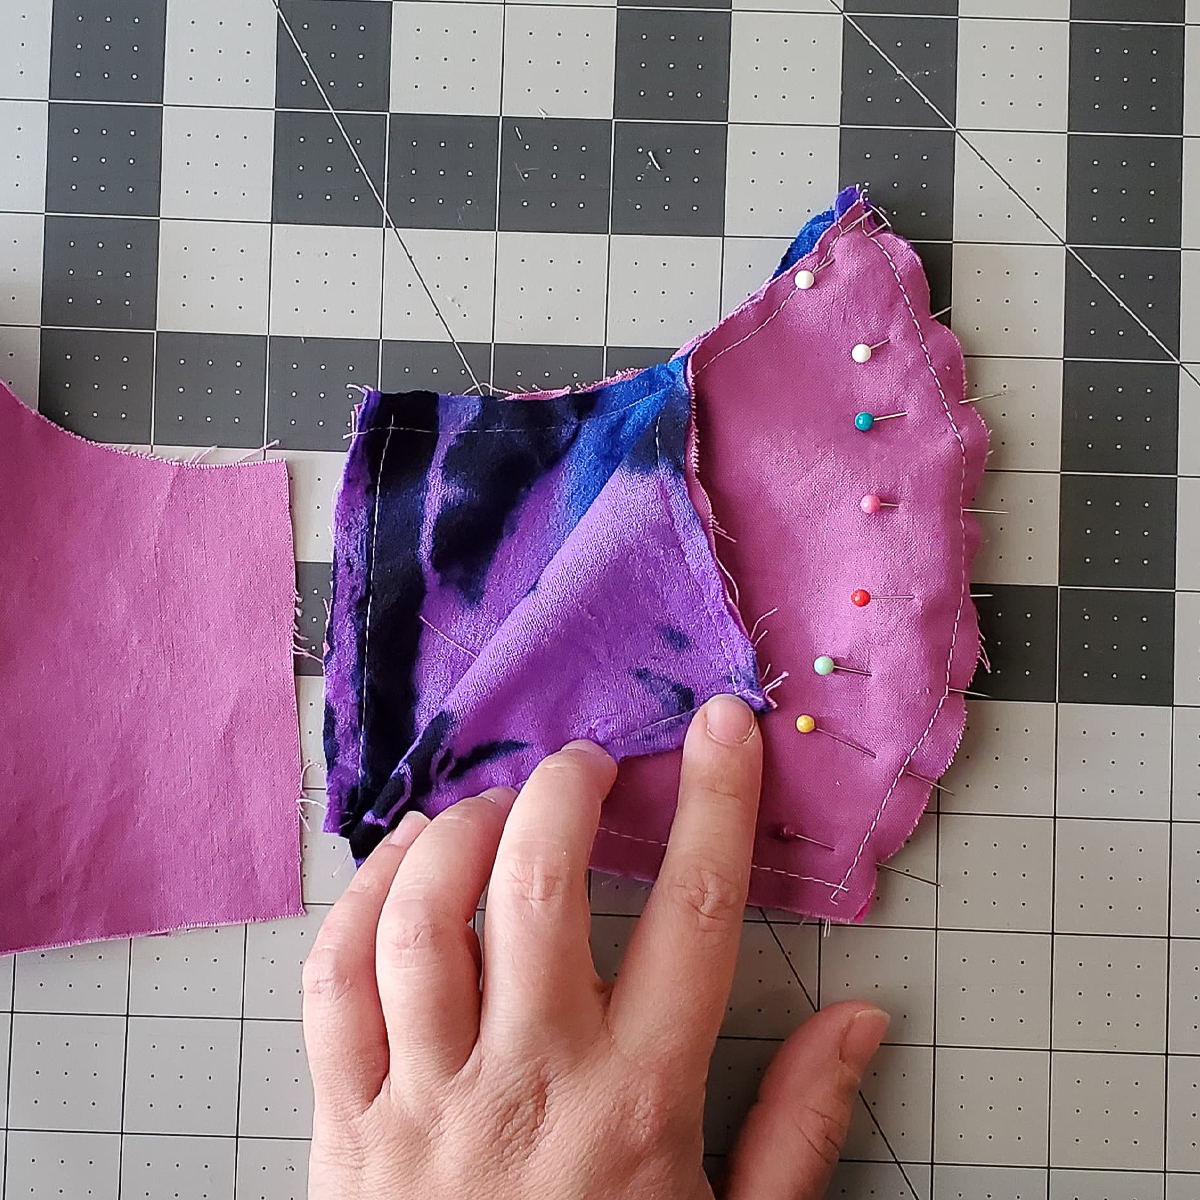
Carefully pin your decorative layer and your base layers right sides together. Baste stitch them with a loose stitch. Be sure to work slowly to avoid causing any snags. Sew the baste within the seam allowance of your pattern so it doesn’t show when you assemble your pieces.
This is what your top layer should look like at this point.
With the right sides together, sew your top pieces together at the center. Make sure you use a smaller stitch for durability. Sew both pieces together. Repeat with the lining.
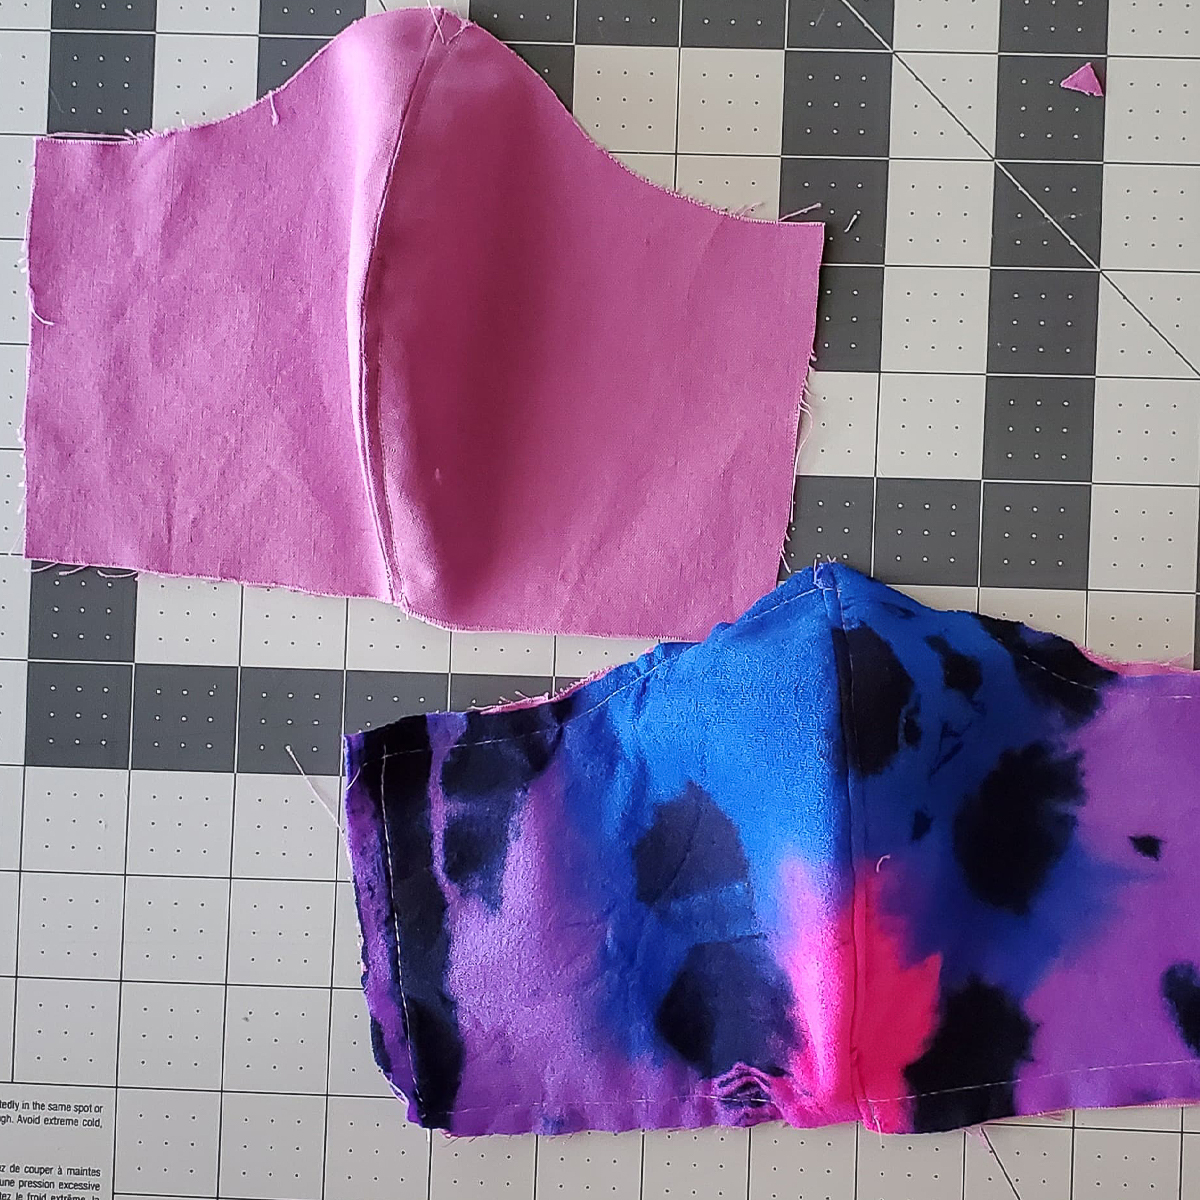
Your top fabric and lining should look like this once complete.

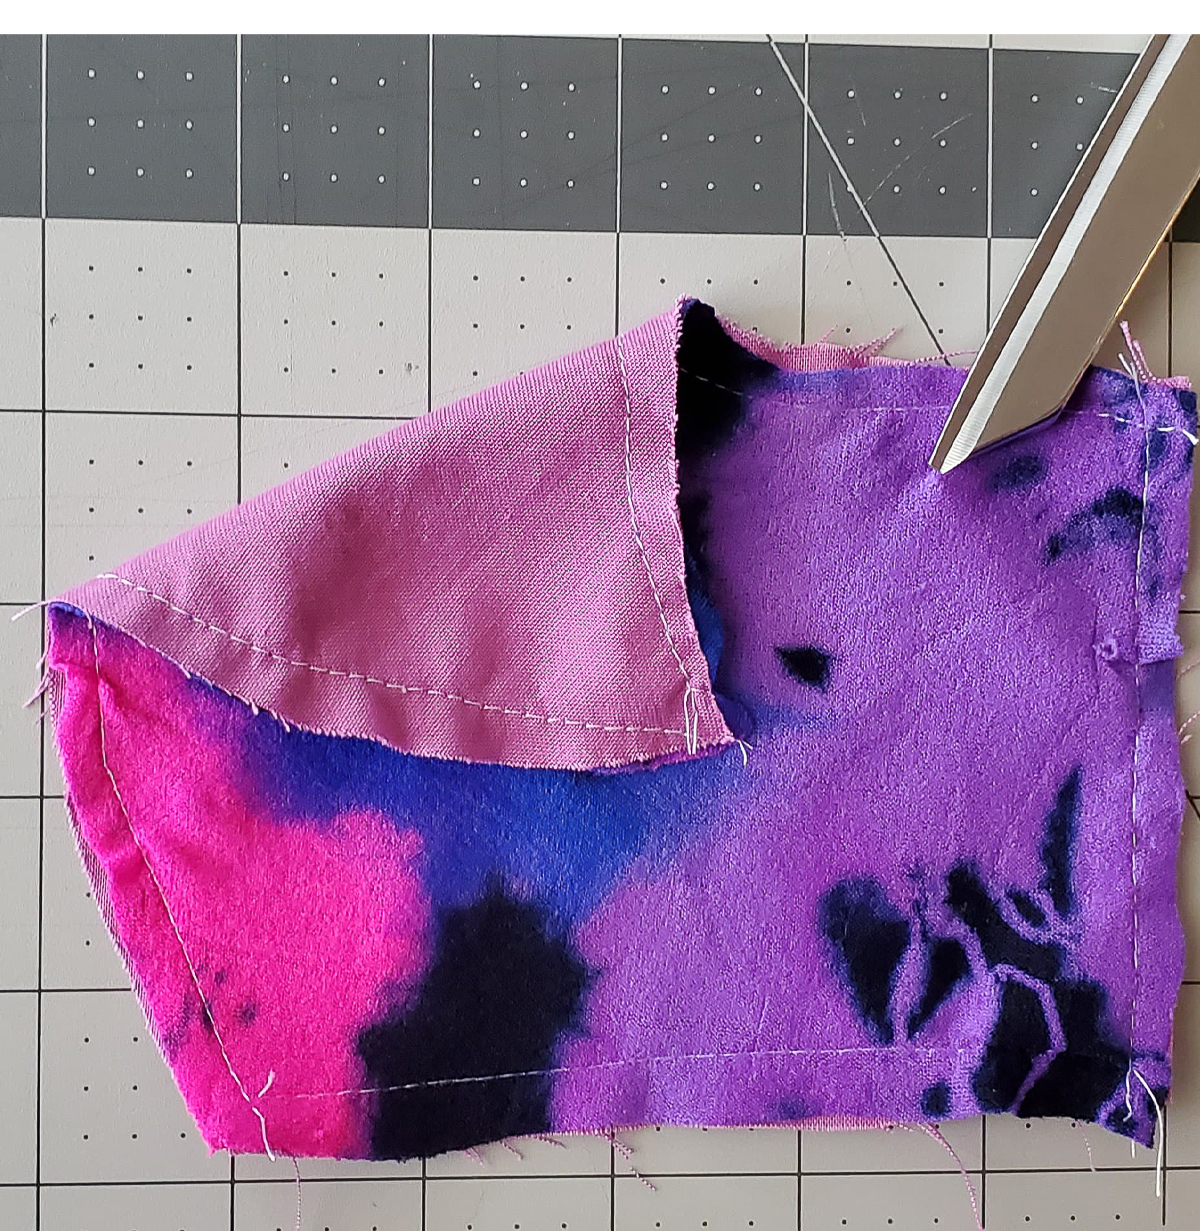
With the rights sides together, pin the lining to top layer ONLY at the top and the bottom. Sew top and bottom together. Your completed mask should look like this. Now, using the pocket on either side, flip your mask inside out.
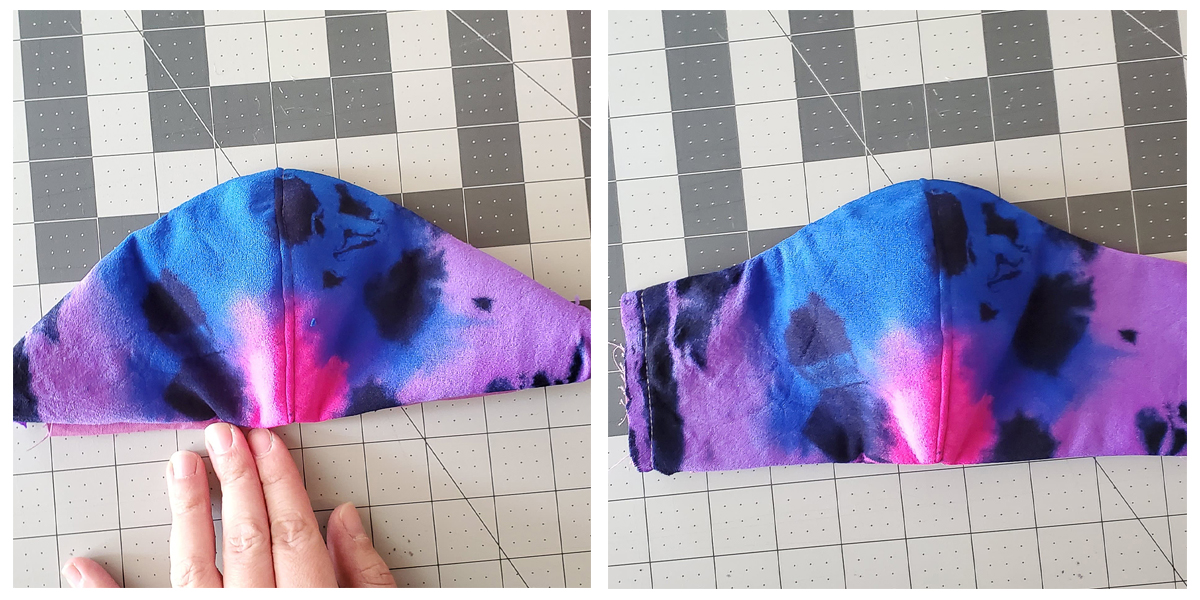
Once flipped, your mask should look like this. Straighten your seams and iron them flat.
Optional: Add wire at the nose bridge
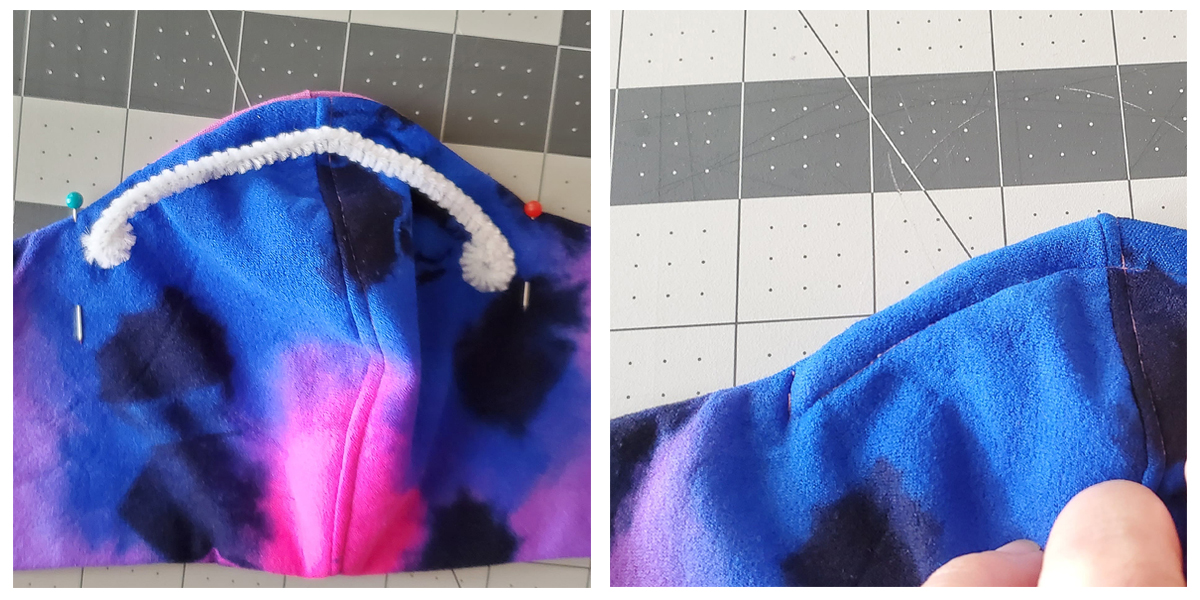
Measure a piece of wire out on your mask. We used pipe cleaner, but you can use garden wire, twist ties or anything else. Make sure you curl the ends so they don’t poke out of your mask. Once you have pushed your wire into the channel, you can sew the other side closed.
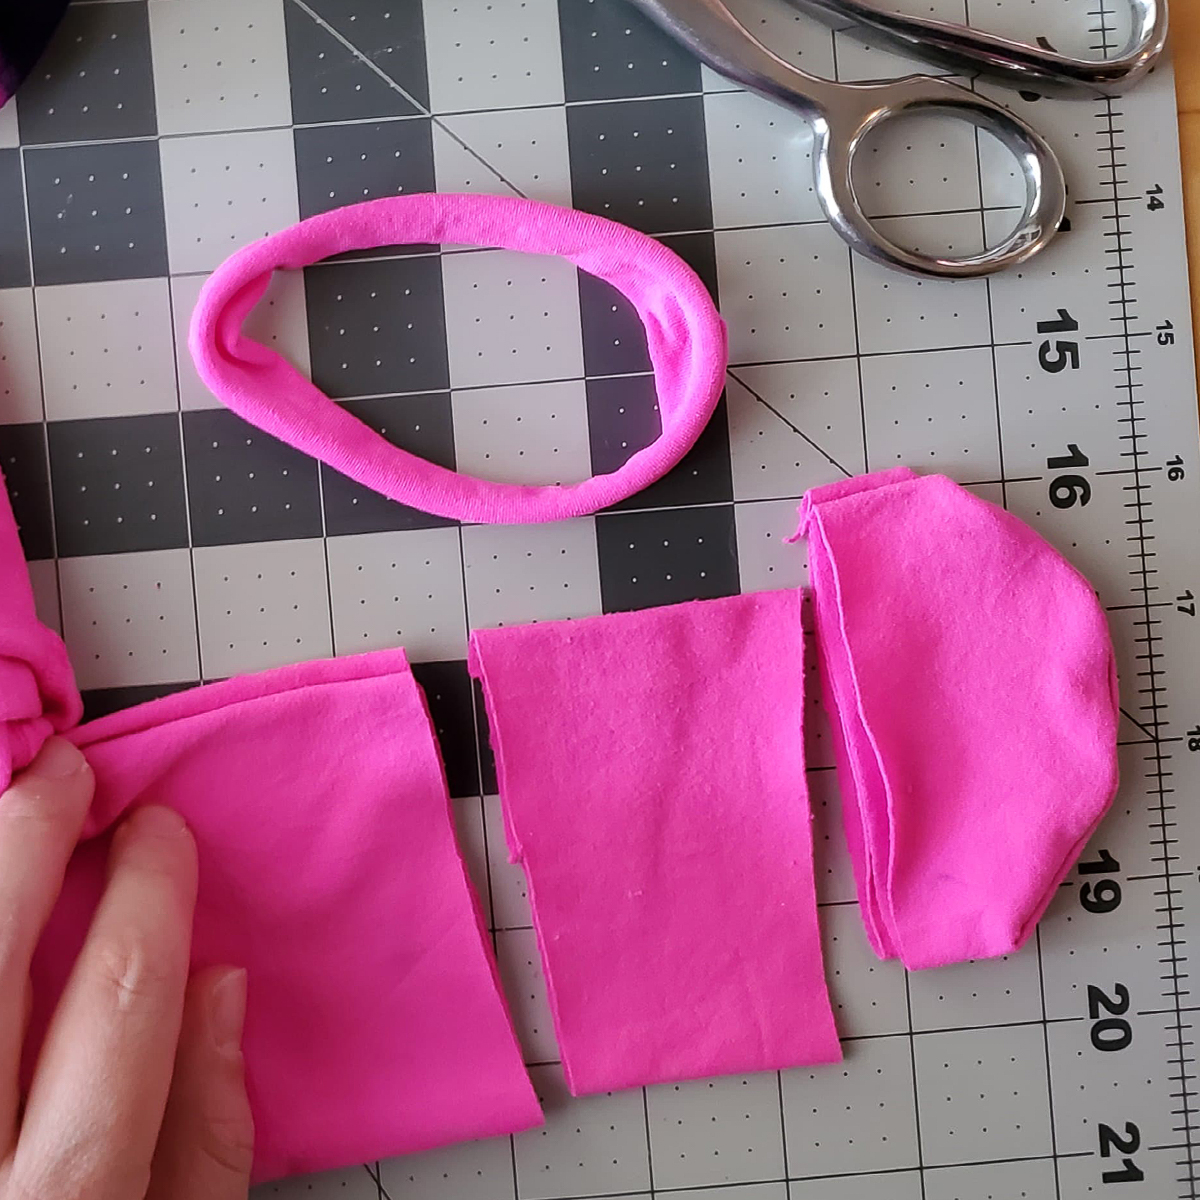
Cut strips of tights into relatively thick pieces, the lower to the toe of the tights, the tighter the spandex will be. stretch the pieces out to create a round band. Measure the band from mask to ear. If you think the band will be too long, you can cut and tie them off. Most ear bands measure about 7in.
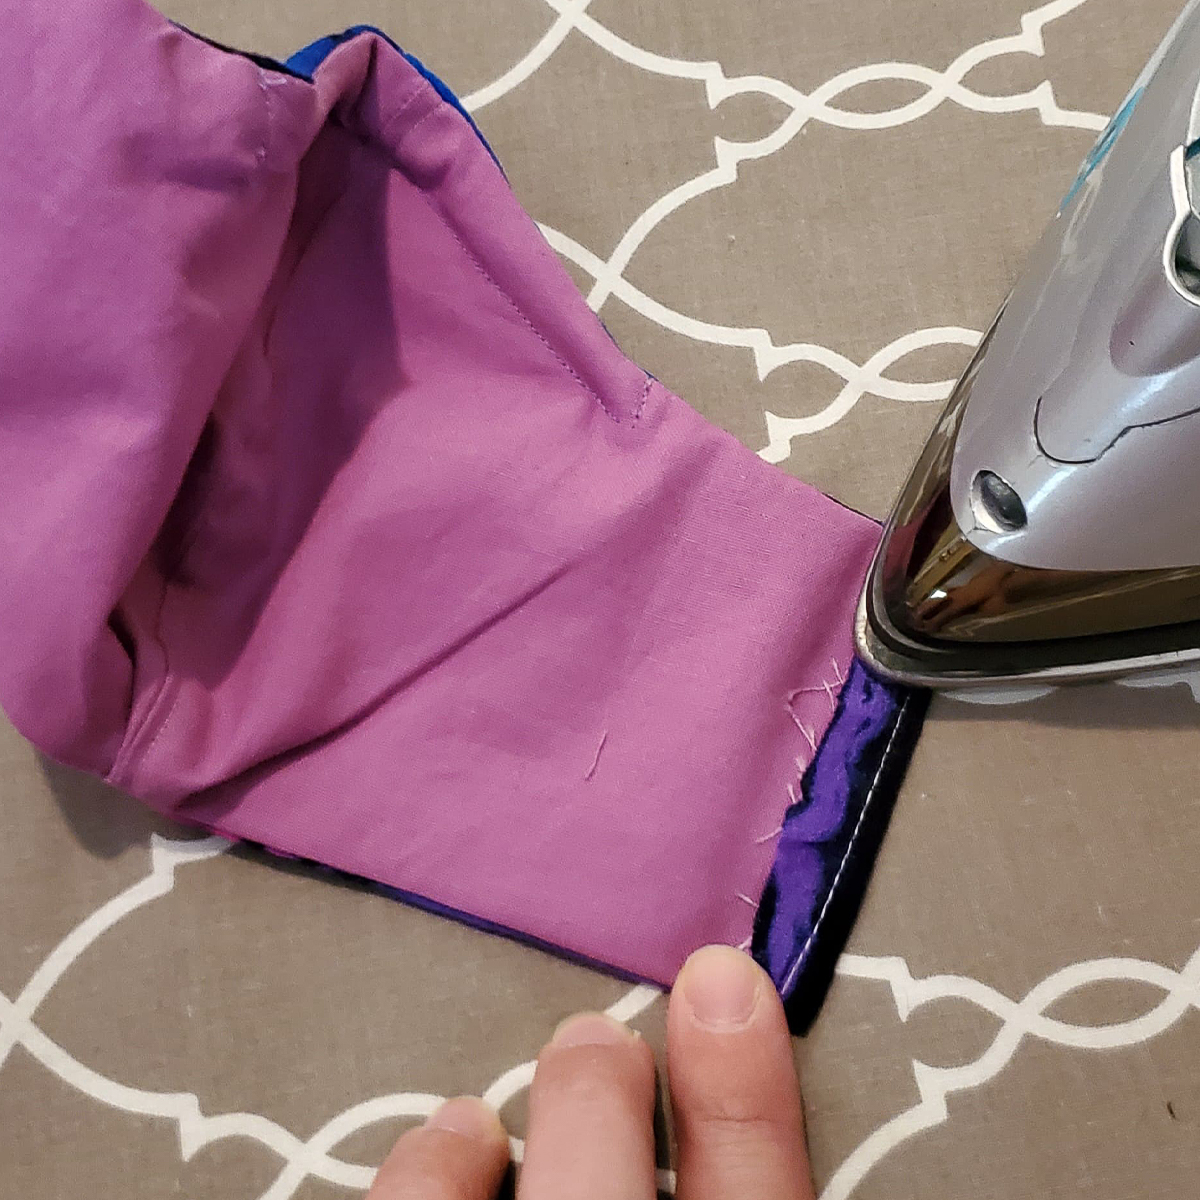
Fold the edge of your mask about a quarter inch and iron it down.
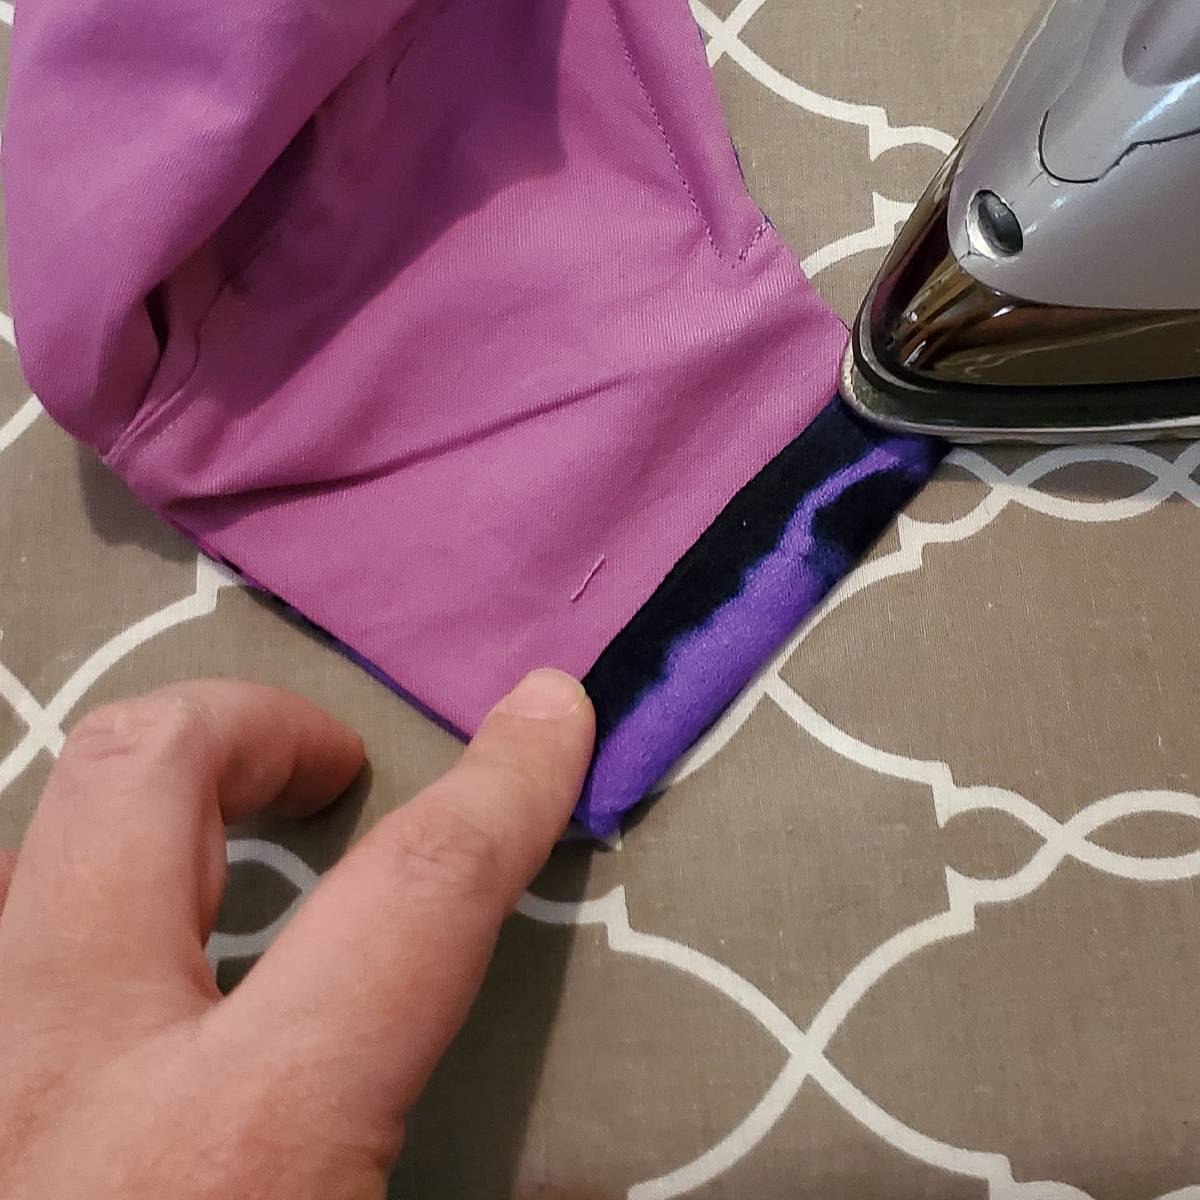
Fold it again. This time, a little more than a quarter inch.
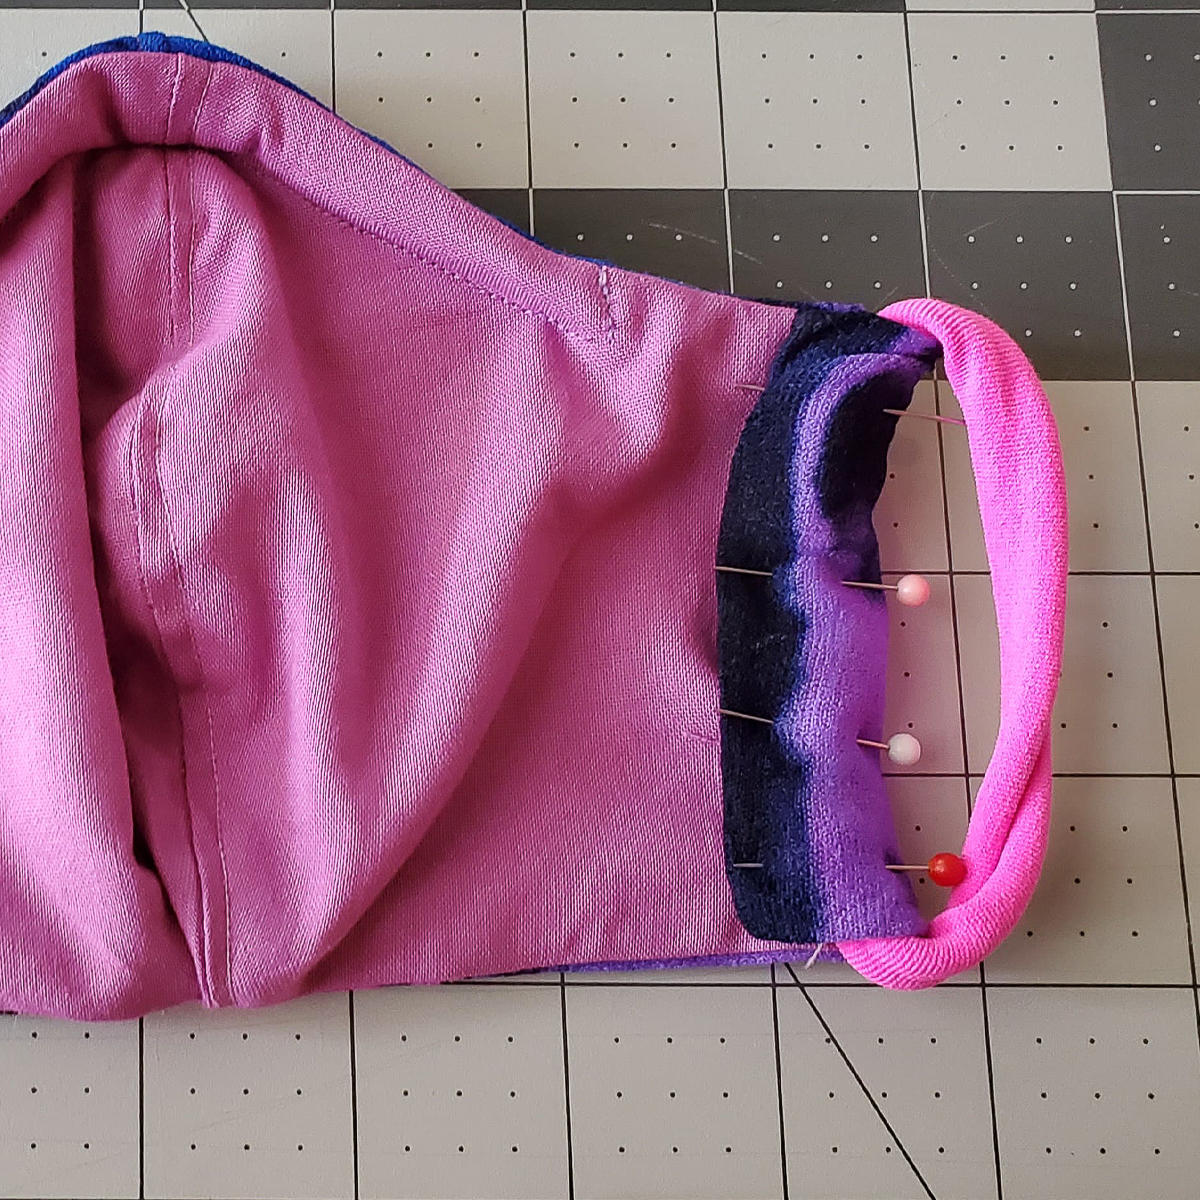
Tuck your band in the fold and pin it down. Carefully sew the fold to the mask. Repeat on both sides.
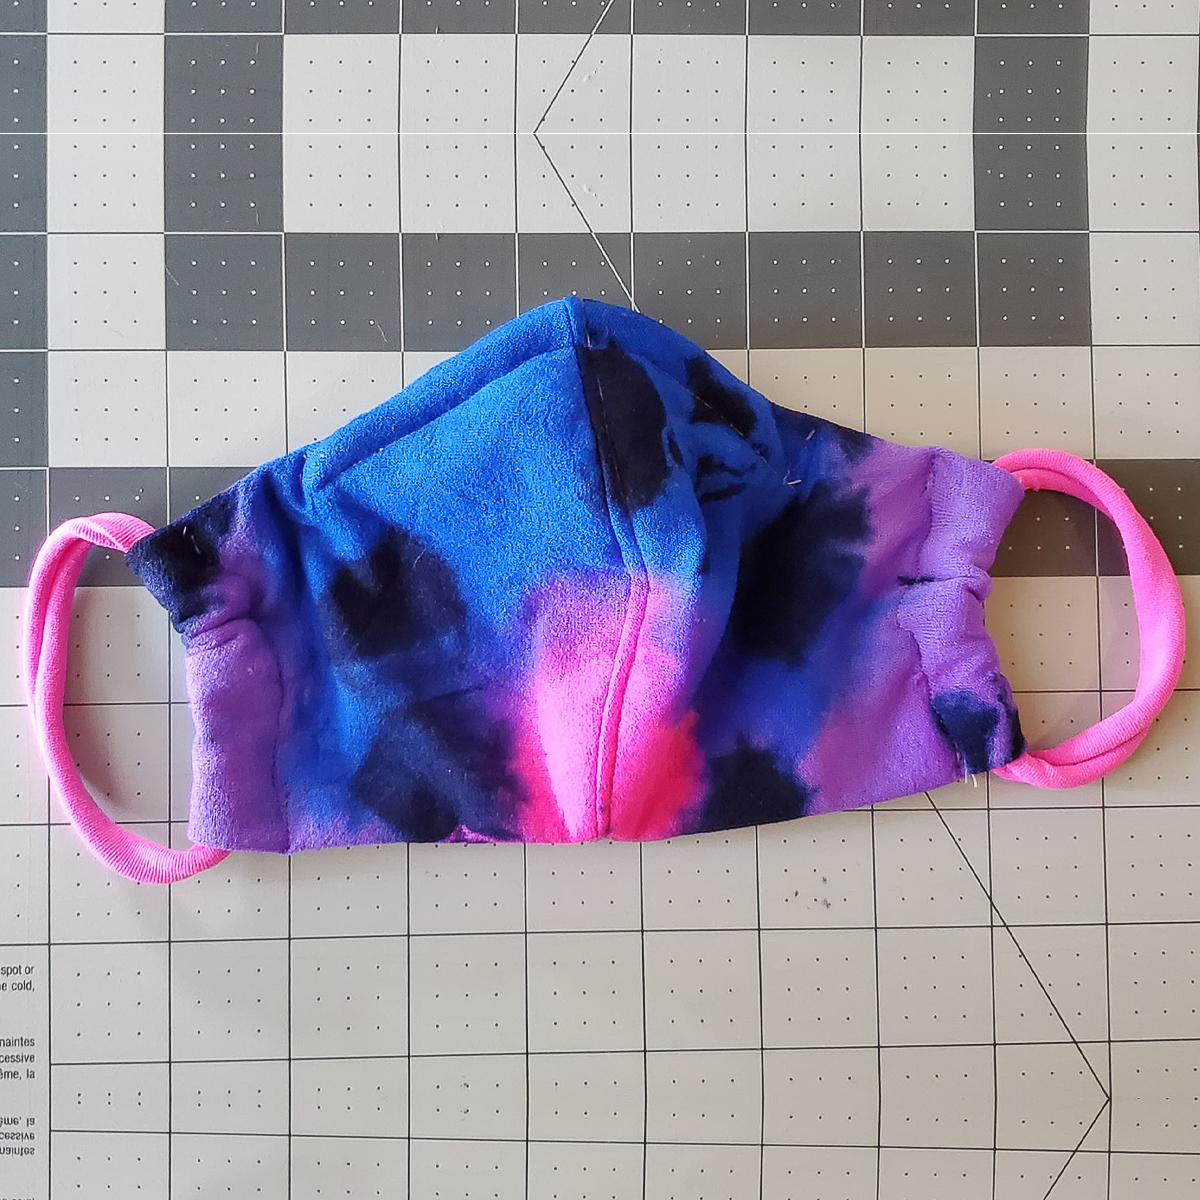
Congrats, you’ve just made your first mask 
If you don’t want to make it, we have a few options for you here.
