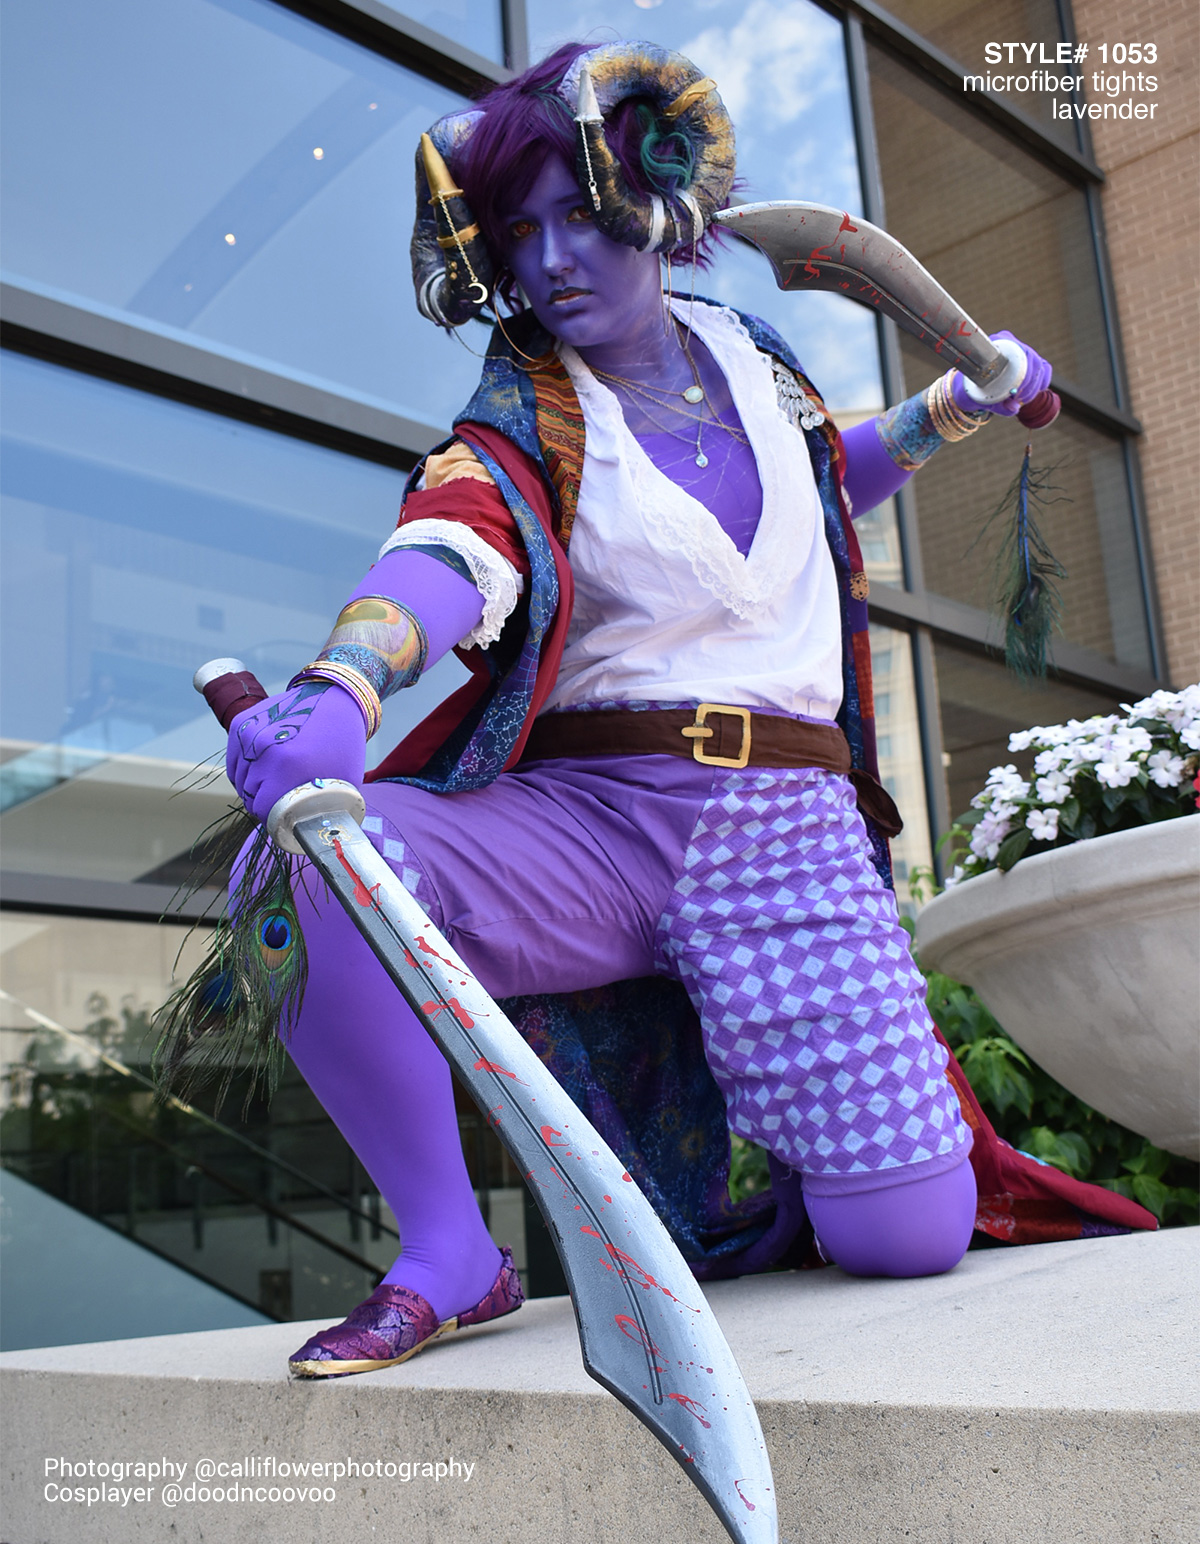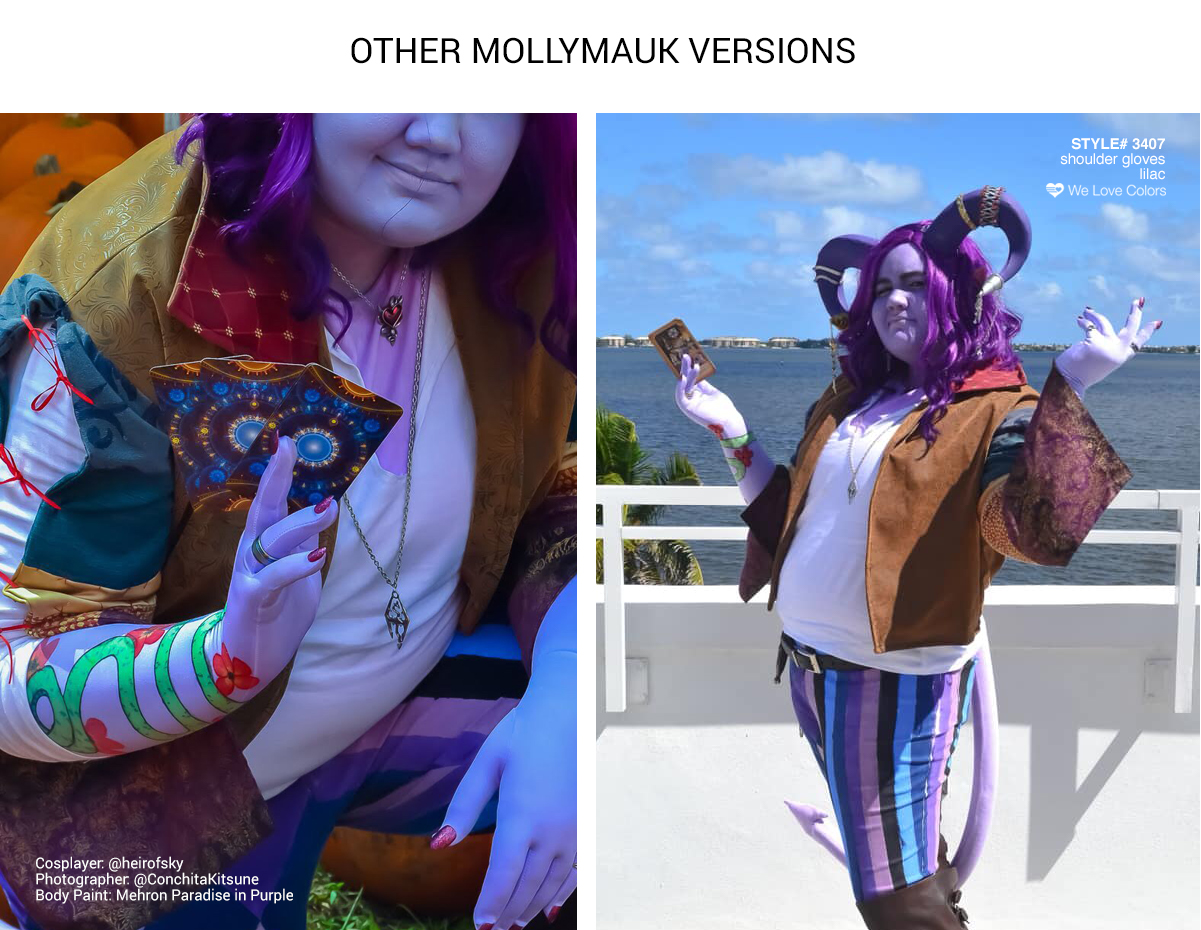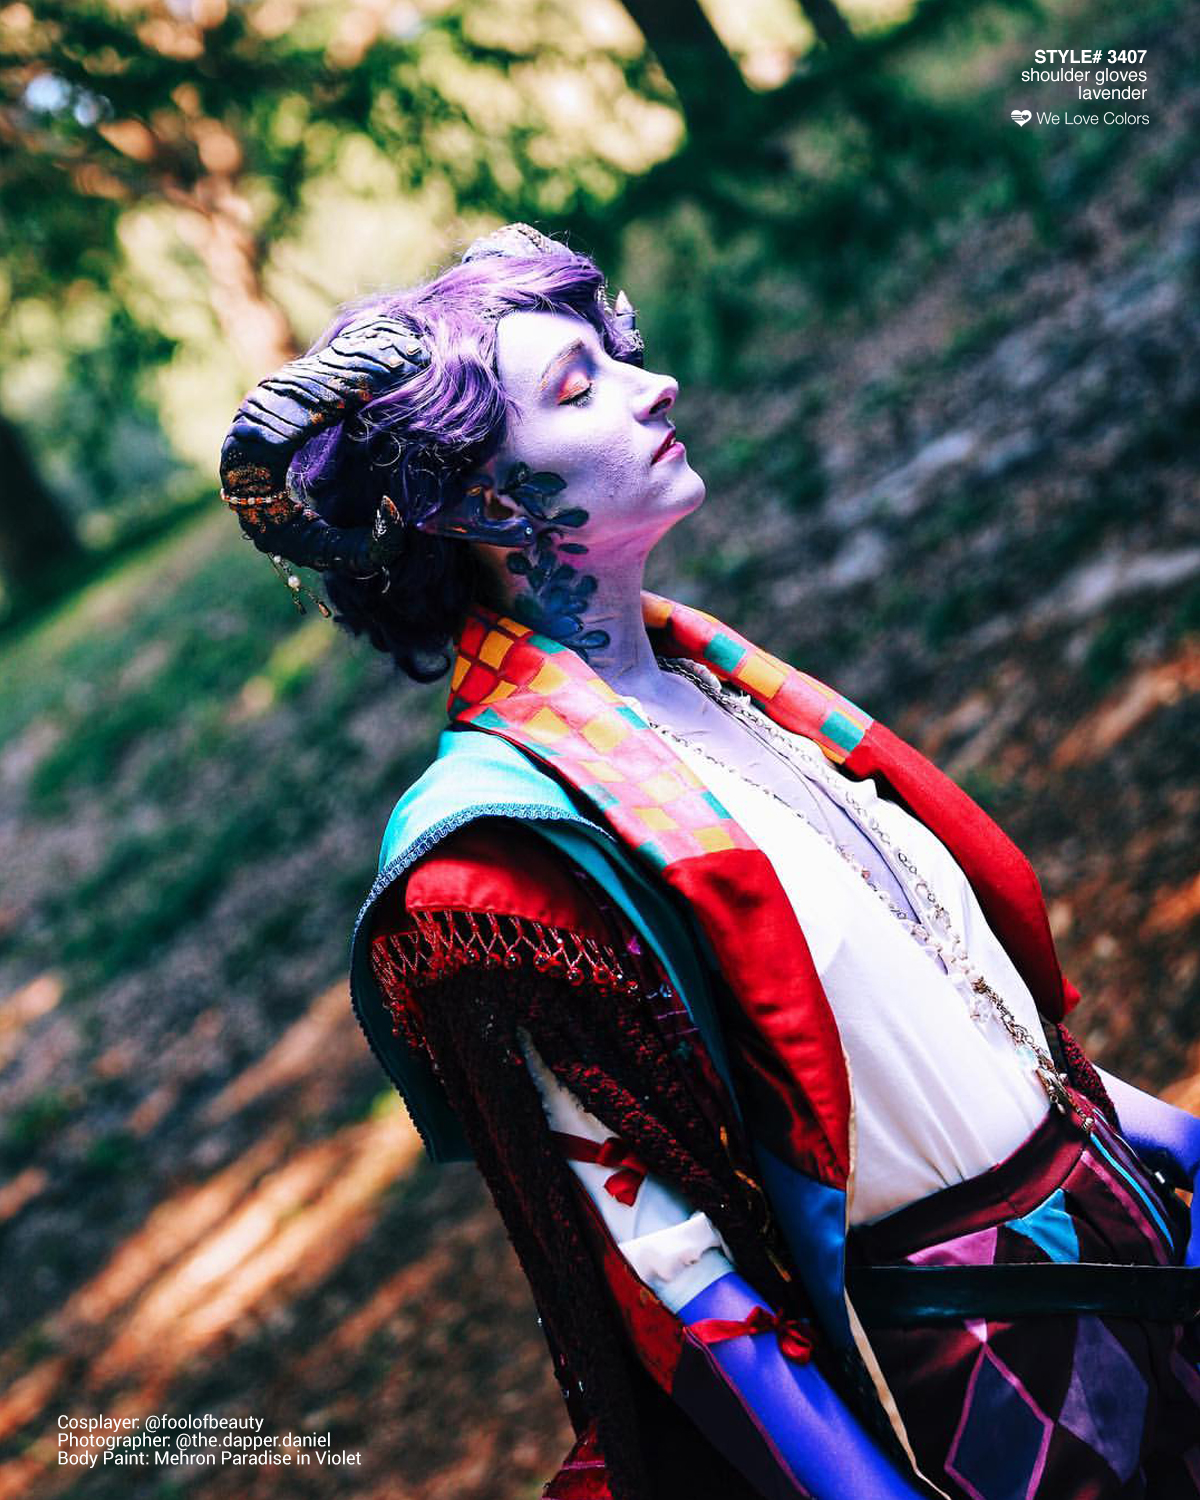
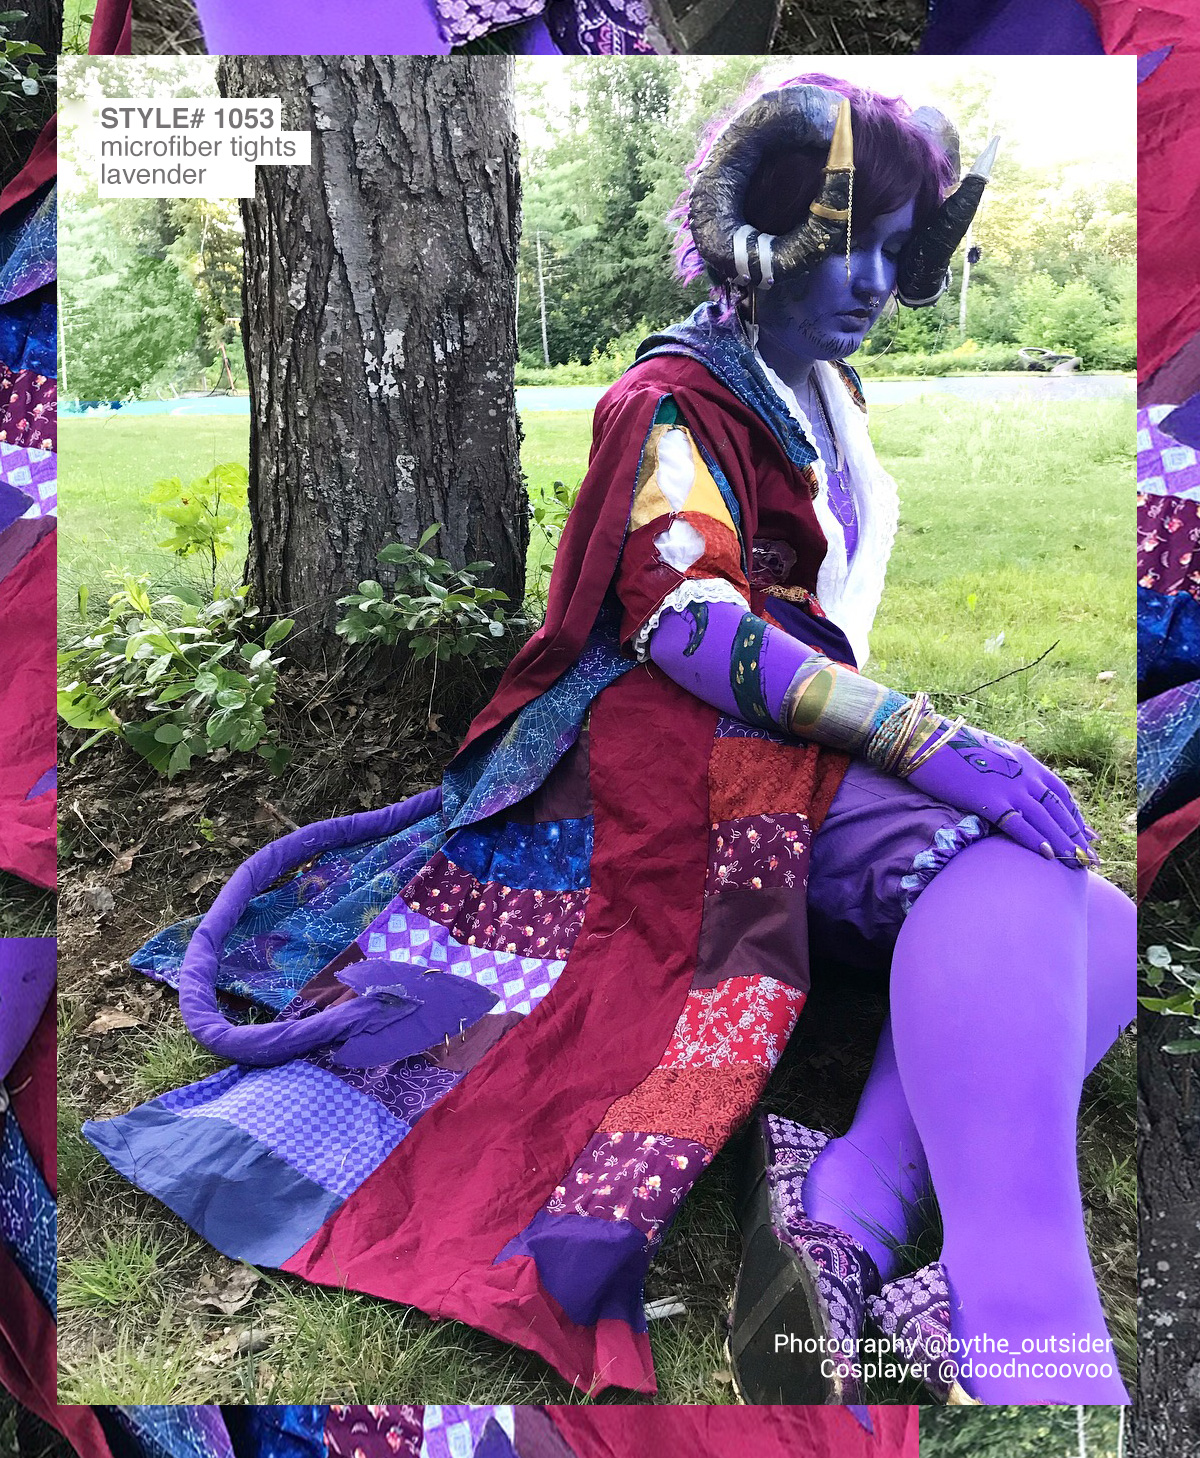
One of my favorite costumes in recent memory is Mollymauk Tealeaf from Critical Role! He’s such a beautiful character and I love how much creativity there is when it comes to being him. My makeup is always changing but being purple has always been consistent!
No matter how good your face paint is and how much you seal it, arm socks are the way to go when you want to have create purple arms and in Mollymauk’s case, have a purple chest. What sets Mollymauk apart from other uniquely colored characters are his tattoos; his creator, Taliesin Jaffe, described him as being heavily tattooed. His tattoos consist of a large floral piece that engulfs a peacock on his right shoulder and a snake that wraps around his arm that comes to rest on the top of his right hand. He has a moon and sun tattoo on his right shoulder and on his back is the All Seeing Eye. That’s quite a lot to try and paint each time you wear him! It’s fine though because if you are wearing arm socks, you can paint the tattoos onto the fabric!
For this project, I made two sets of tattoos for my Mollymauk costume. The first time I wore them I used arm socks and for the second attempt I used a body suit and gloves. I’ll go through how I did both and compare and contrast so you can decide which option is best for making your tattoos!
Materials You Will Need:
- WeLoveColors Nylon/Lycra MicroFiber Solid Color Tights or WeLoveColors Turtle Neck Leotard. You can use either Lilac or Lavender.
- Chalk Pencil
- Cardboard
- Velcro
- Seam ripper
- Tulip Fabric Paint/ Basic Color Fabric Paint (I recommend Brush On Paint as opposed to the puffy paint. The puffy paint still works, but it is a lot stickier to paint with.) The colors required are as follows:
- Red
- Yellow
- Dark green
- Green
- Blue
- Turquoise
- Dark blue
- Purple
- Pink
- White
- Black
- Gold (Optional – I love a good sparkle.)
Bodysuit Tattoos
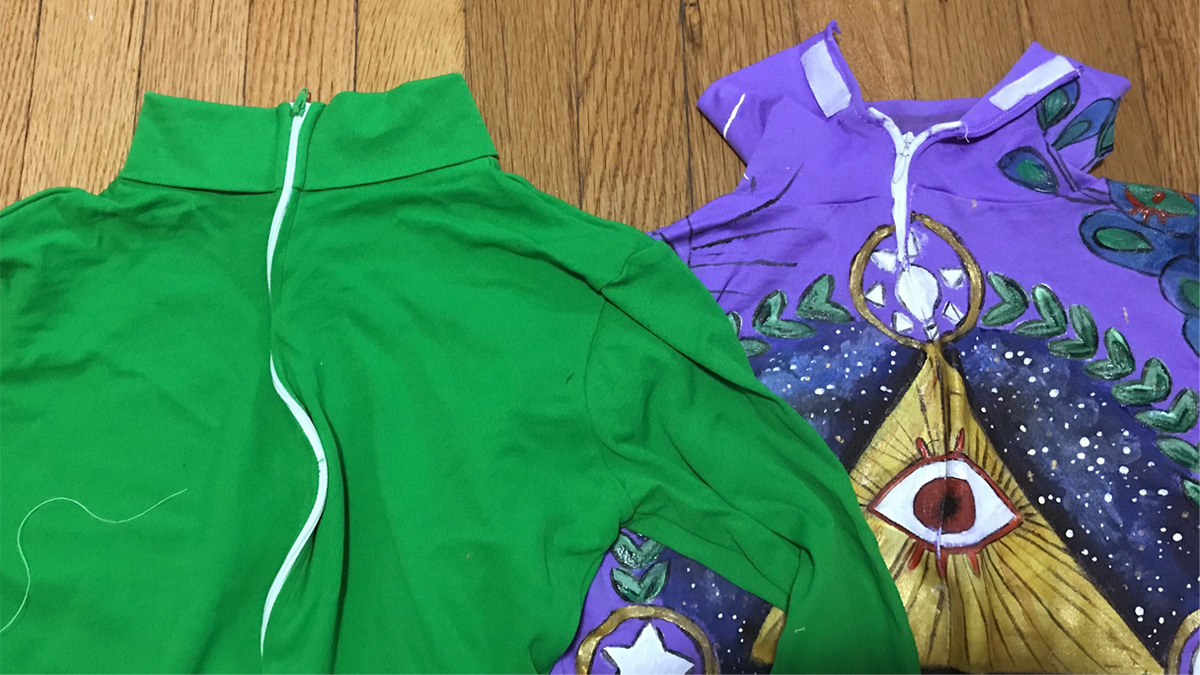
Let’s start with the bodysuit! The Turtle Neck Bodysuit does not have a flat collar, it’s folded over. To combat this, you will need to seam rip the collar of the bodysuit. This will make it easier to do the scars on the neck in the future. Hem the rough edges and add a snap or velcro to keep this piece down when you wear it. You could also get a long zipper and replace that if you feel confident. The difference between a changed and unchanged collar are pictured below with a green bodysuit that I have not fixed the collar on and the bodysuit I wear for Mollymauk, adjusted with the velcro.
Once that has been taken care of, you are going to want to start off with a light sketch of the tattoos onto the fabric. This is going to make it easier to figure out where everything will be painted and help avoid any overlap. Having a reference on hand makes this easier and even allows for lots of creativity in designing the tattoos yourself! As long as you hit the key points that are outlined in the canon, you can really do whatever you want!
Sketching out the back will be easy because you can lay it flat and draw onto it. However, for the shoulder pieces you might have to put on the bodysuit to figure out the way to adjust the shoulder tattoos to your body. For this part, I had my sister wear the bodysuit as I drew everything out. Have a friend or a sibling wear the suit while you draw is great for figuring out where things need to go, but this is also something you can try to do by yourself! Once the sketch is done, you can start laying in color. I started with the back with the large All Seeing Eye piece. Since fabric paint tends to bleed through layers of fabric, I slipped a large piece of cardboard into the bodysuit to keep the paint from bleeding into the wrong side of the bodysuit and the cardboard also stretches the fabric so when the paint dries, it didn’t cause the bodysuit to become too tight. I did an initial rough layer of color and then went back in with details and another layer of paint. Once those layers dried, I went in with a very small brush to lightly and carefully do the black line to make it really look like a tattoo. You can also use a fabric marker for this part!
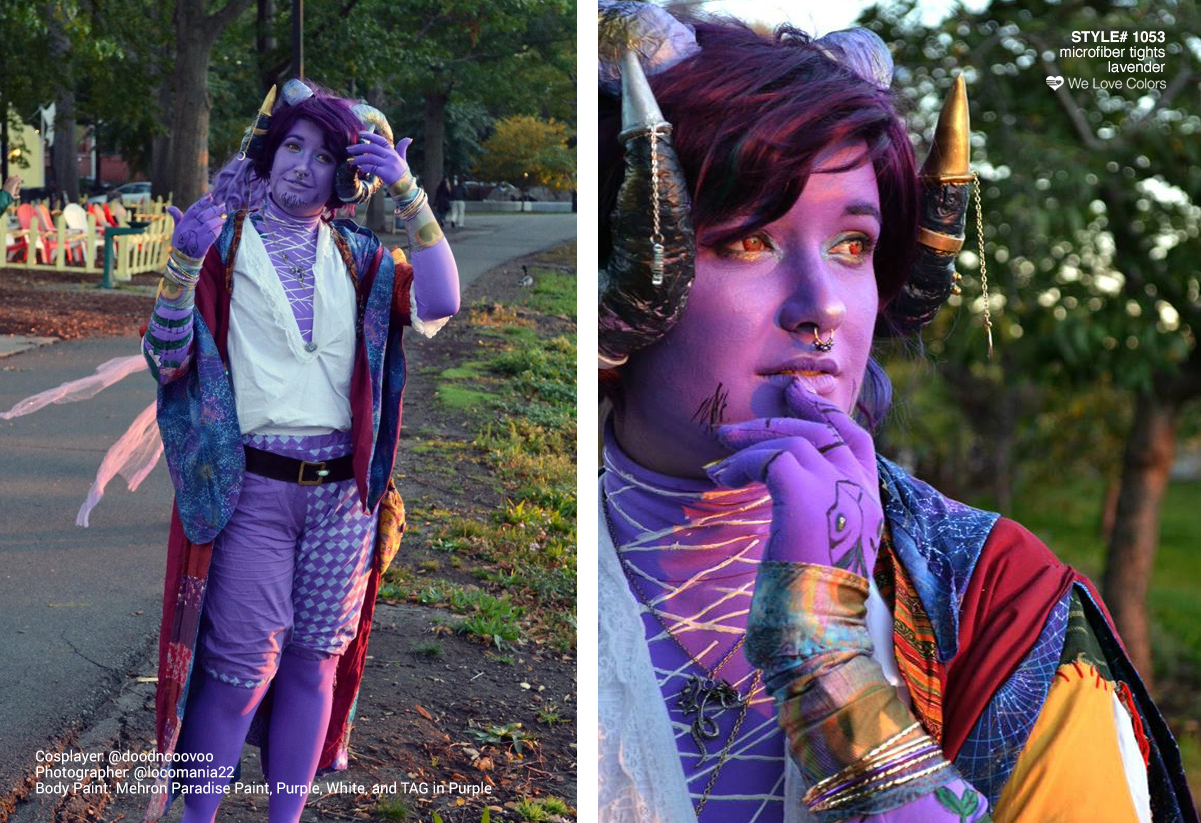
After the back had dried and was complete, I moved onto the sun and moon on his shoulder. This is where my idea could differ from yours because for this piece I just did in black line, outlining the sketch that I had done from before. You can absolutely do something more colorful, but this was my own interpretation! I used cardboard once again to separate the layers of fabric to avoid having them stick to each other. The next part is the large snake, flower, and peacock on the right arm. Since this is a full sleeve, I worked on one side, let that dry, worked on the other side, and then fixed the edges that I missed. There were cardboard pieces to separate the layers. I handled this in the same way I did the All Seeing Eye piece on the back where I painted the flowers, the snake, and the peacock roughly at first, went back in a colored it more, and then the black line.
On the right side of his neck, the palm of his right hand, his right shoulder and the back of his neck he has a red eye tattoos. It was mentioned in a Critical Role episode by another cast member, Ashley Johnson, that Mollymauk has 7 of these tattoos. The one thing about these is they do not take ink so they will show up. You can work these into the tattoo seamlessly, like making the eye into some of the petals of the flowers and the feathers of the peacock. For the hands, I wore separate gloves made from the hands of my original arm socks. I wore the right-hand glove as I sketched out the snake, making the transition seamless. I painted the snake head and the eye on the palm of my hand, also added some gold and black finger tattoos purely because I love finger tattoos and it would keep me from getting rings!
Finally, once all of that had dried, I did the scars on the chest. If you want to add scars on the arms you can, but as a personal preference i decided not to. This is where having at least white puffy paint would be the best because I piped out the line directly from the bottle. This made the line much less fuzzy and cleaner, but it also gave it some texture like actual scars. I had to do this three time because I kept messing up because the suit was not lying flat enough, so make sure that this dries in an area that won’t be disturbed and make sure this is lying flat when you work. Keep your pressure on the bottle steady and any globs that happen clean up with a paint brush.
Arm Sock Tattoos:
Between painting a bodysuit and arm socks, I handled most of the work in almost the same way, starting with the back tattoo and working my way to the scars on the chest. There is one major difference between the arm socks and the body suit though. Here is a picture of the two of them lying on the ground, the tights on the bottom and the bodysuit on the top. These were both bought in Lavender and you can see that the tights are much darker than the bodysuit. This isn’t a problem per say, but the difference comes with the way they take the paint.
Since the tights material is thinner and darker, going right in and painting will be difficult. Below is a comparison between the tight and the bodysuit, the tights are on the top of the image and the bodysuit on the bottom. The paint sinks into the material more for the thinner fabric of the tights and makes the colors a lot darker than they actually are, especially if you are using Lavender like I am. To combat this for the arm socks, I recommend painting in the shapes with white first, letting that dry, and then going in with the color. This will help the color pop off the darker purple and keep it from being these muted colors.
Keeping that in mind, go through and sketch the tattoos on the tights fabric, either getting someone to help you by wearing it while you sketch onto the fabric or sketching it yourself. I would then start with the back tattoo and paint in the major shapes, like the triangle of the All Seeing Eye, all in white first. Once that has dried, paint in the color and detail, outlining it in black carefully to finish. Use cardboard again to separate this, like what I did with the bodysuit because this will still bleed and stick together. The sun and the moon on the left shoulder are next and you don’t have to worry about priming this with white fabric paint if you are doing this similar to the way I did it. Go in with black line and trace the drawing that you sketched out.
The snake, flower, and peacock are going to be done in sections. You’ll start with one side, work on one side to completion, flip it over and work on the other side to completion, and then fix any gaps in between. The only difference is priming areas that you will be painting with white before going in with the paint. I will say that the teal I used for the peacock looked terrible right up against the purple; it turned out dark blue and was very disappointing.
Since the arm socks do not have a tall collar and more chest coverage, you aren’t going to do as many chest scars. You can still add some onto the chest that you can see under your shirt, but they won’t go up your neck. These you will have to paint in yourself when you do your facepaint and makeup for Mollymauk, along with painting some of the peacock onto the neck.
That’s it! Now you should either have a completed arm socks with tattoos all over them or be like me and have a bodysuit and gloves with lots of tattoos!

So What’s The Difference?
This whole post has shown you how to paint onto the bodysuit and arm socks, but which one is better? Which one would make the best base for the tattoos? Let me lay out some pros and cons for each and let you come to your own decision!
Bodysuit Pros:
- Good for more open shirts
- You don’t have to paint your neck and chest as much
- Takes paint better with no need for a priming layer of white
Bodysuit Cons:
- The bodysuit is made of spandex and is a lot thicker than tights, making it hotter
- The spandex is a little more difficult to paint
- More sewing has to be done to prep the suit
- You have to buy gloves extra because there are no hands on the suit
Armsock Pros:
- Super easy to make
- Can be cut like opera gloves to come off easier
- Better option for a more closed shirt
- Thinner material than spandex
Armsock Cons:
- A lot darker than expected
- If you don’t cut gloves, you are stuck in your arm socks all day
- Doesn’t take paint well without a primer layer
- Hole for the head can sit lower on the chest, meaning you have to paint more of your chest
- Hole for the head can sit lower on the back, meaning you might not be able to do the back tattoo
I gave you the two options for making the tattoos and it is completely up to you for what you want to use. What best suits your skill level? What would work the best for the con/meetup/photoshoot? What is the weather going to be like? What are you going to be doing at the con/meetup/photoshoot? All these things should be considered when you pick your material, but whatever you choose you know you will have awesome tattoos!
Last, but not least, here are some tips to help you!
- Definitely do a drawing before! Going in without a plan is stressful!
- I have seen some people do more tattoos on the left arm, like tarot inspired designs or you could even do Cherry Blossom or Pink Moss inspired by a lovely Firbolg Cleric!
- Molly’s tattoos have not been documented and the only drawings that exist of them are fanart, which means that this is not the end all be all for what they are supposed to look like. I took inspiration from many different interpretations for my design and so can you. If you want it all to be lineart, then do that! If you want to do it all in purple, do that! I took some inspiration from some fanart works, one of them by @ruushes on Tumblr who did an amazing job for the back tattoo and the flowers were inspired by @elluzant on Tumblr and Twiiter!
- As the fabric paint dries it will get stiff, so I recommend using larger pieces of cardboard to stretch while you paint. I have issues with my sleeve feeling tight because I did not stretch it enough while painting .
- If you are using armsocks, hit the seam with Fray Block to avoid runs around the chest and back!
Go and have fun being Mollymauk!
If you have used We Love Colors for cosplay or any other creative projects feel free to email us at social@welovecolors.com
Tutorial by Meg, @doodncoovoo
Edited by Katherine Ceballos for We Love Colors